Mass, movement + case + band:
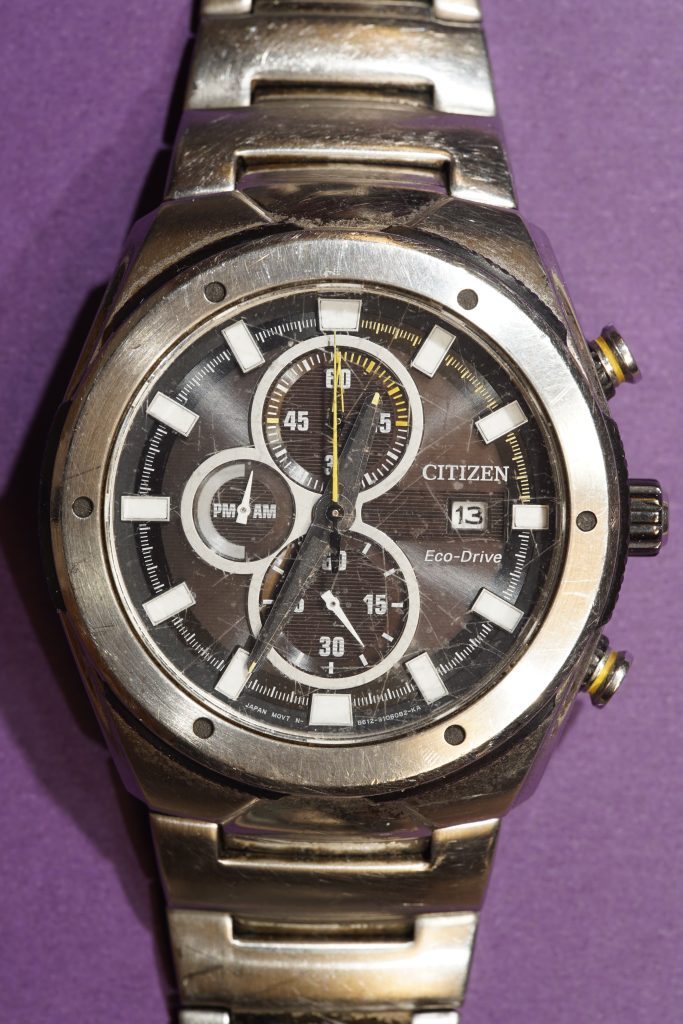
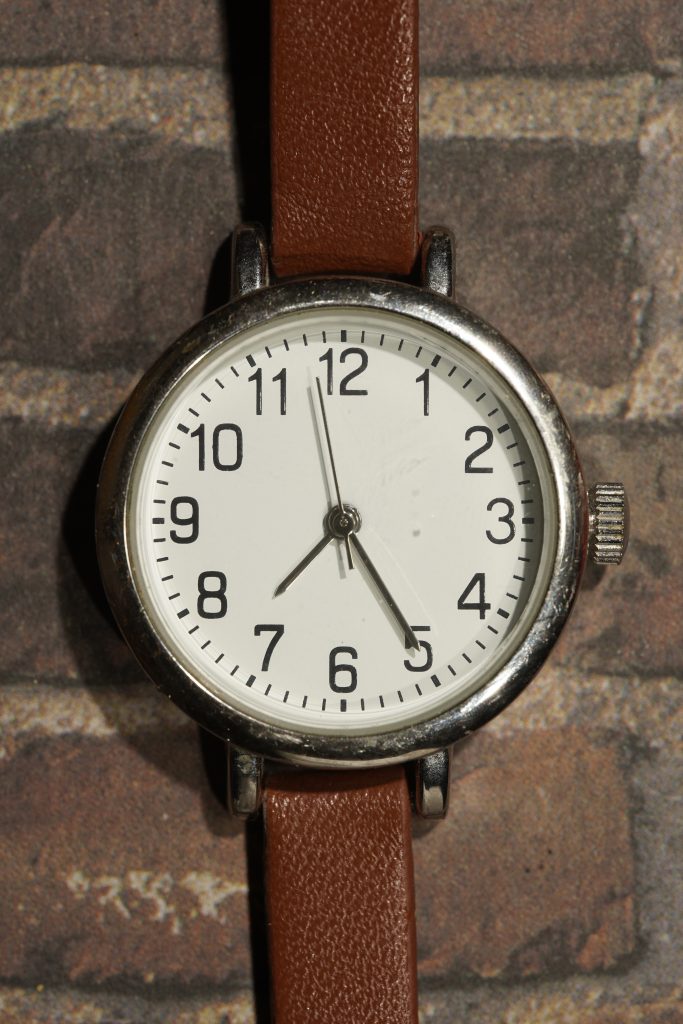
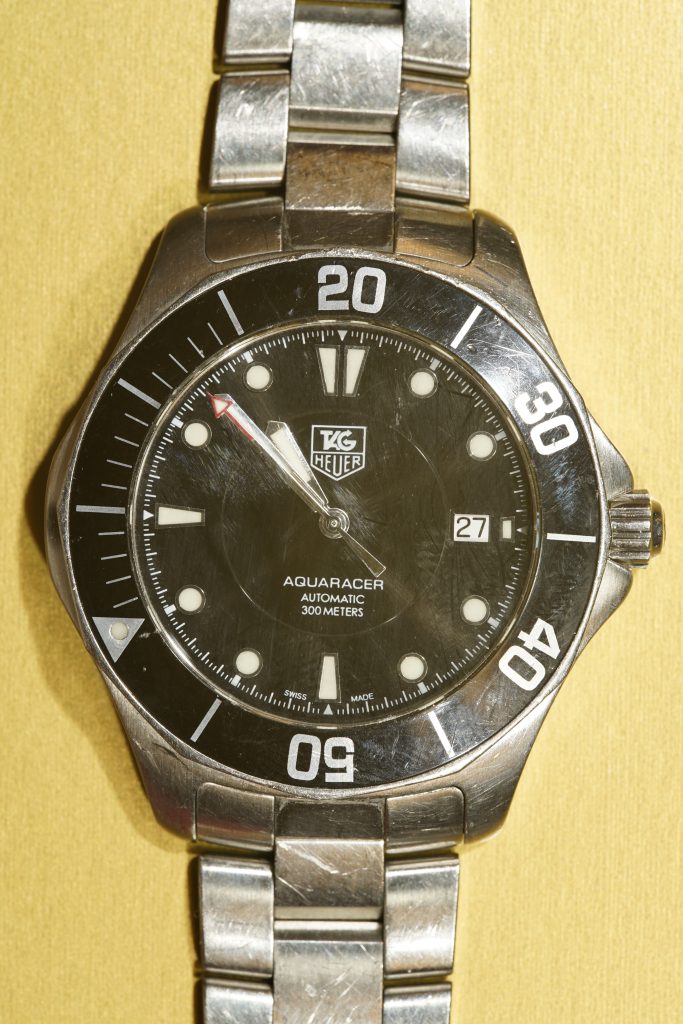
Dimensions, case: 41.4mm diameter x 11.75mm thick
Band lug size: 20mm
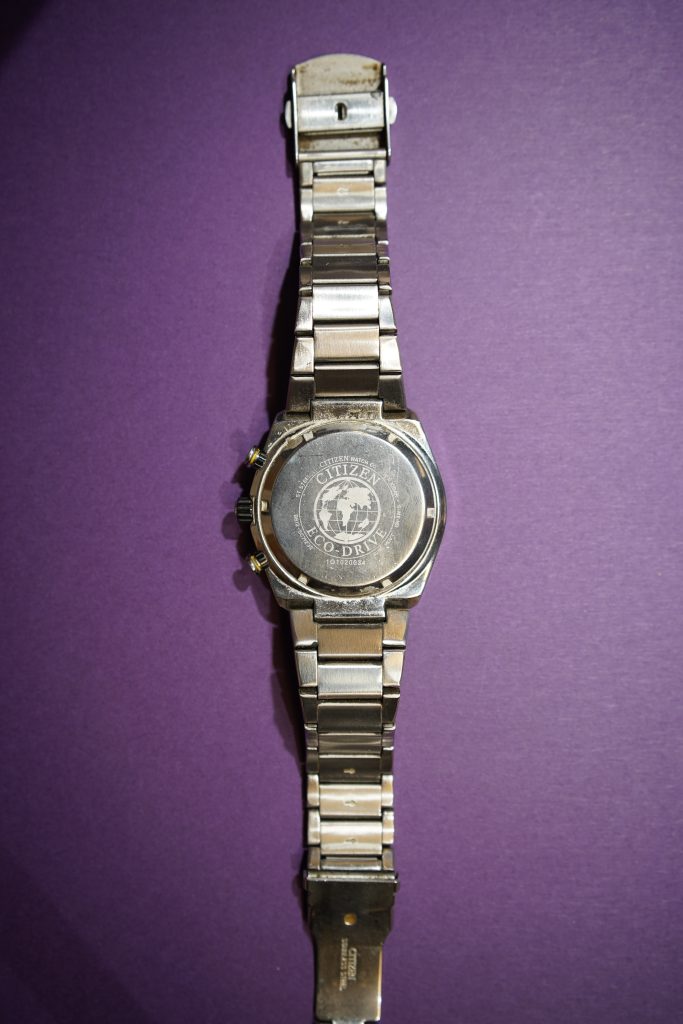
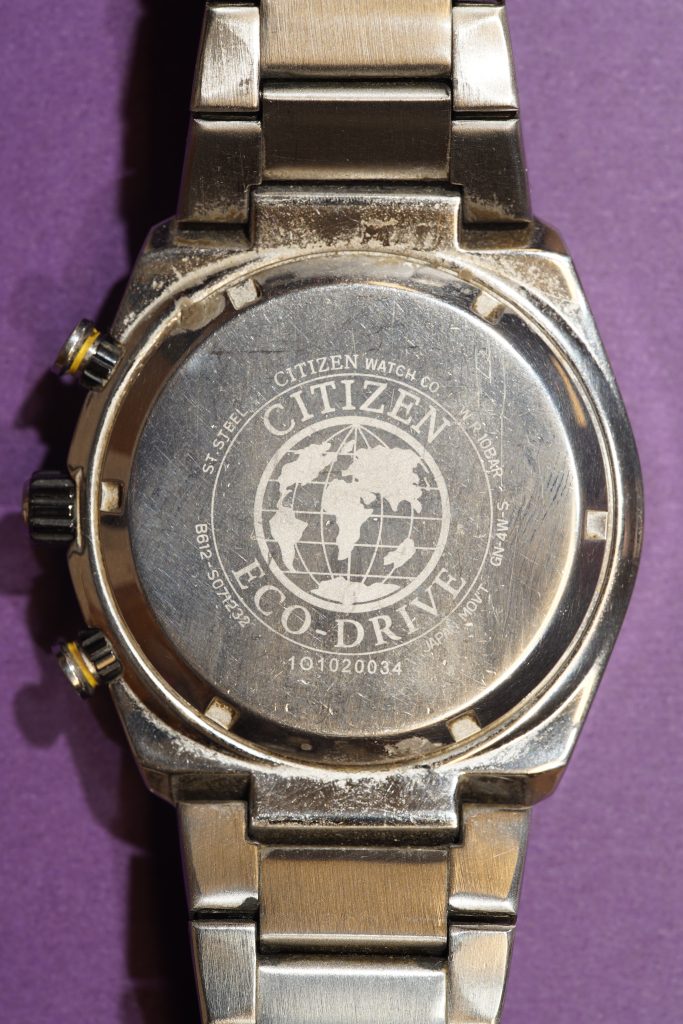
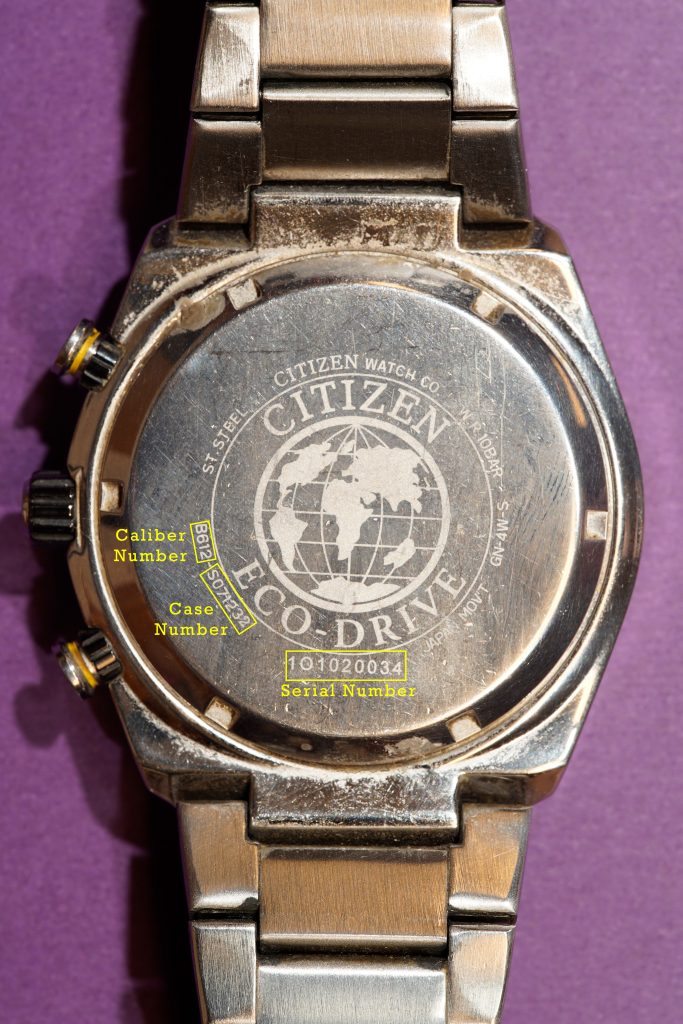
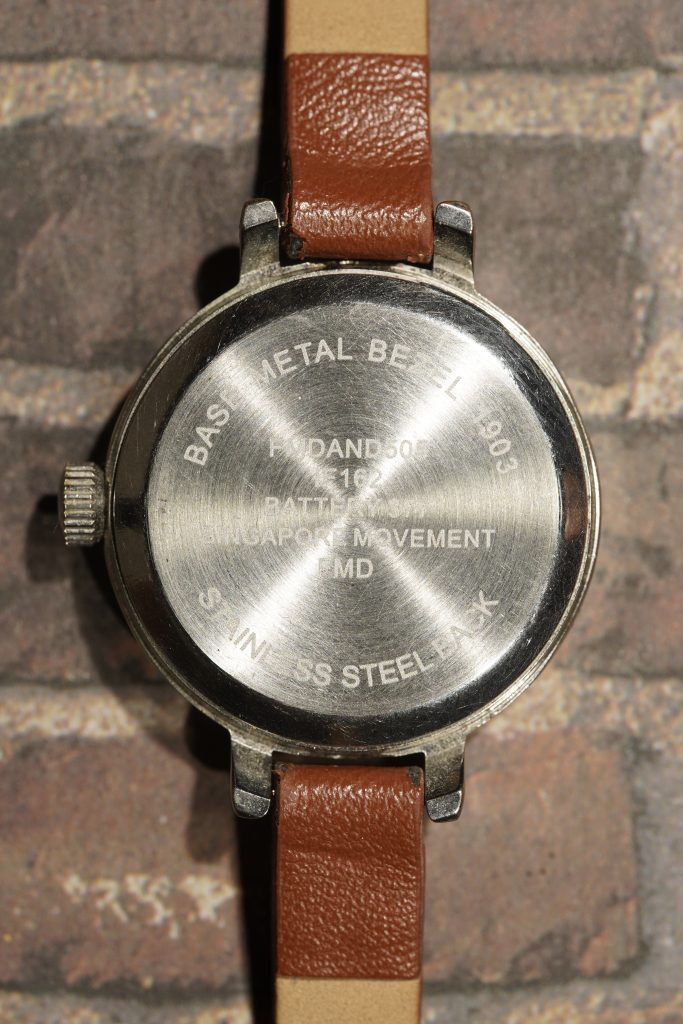
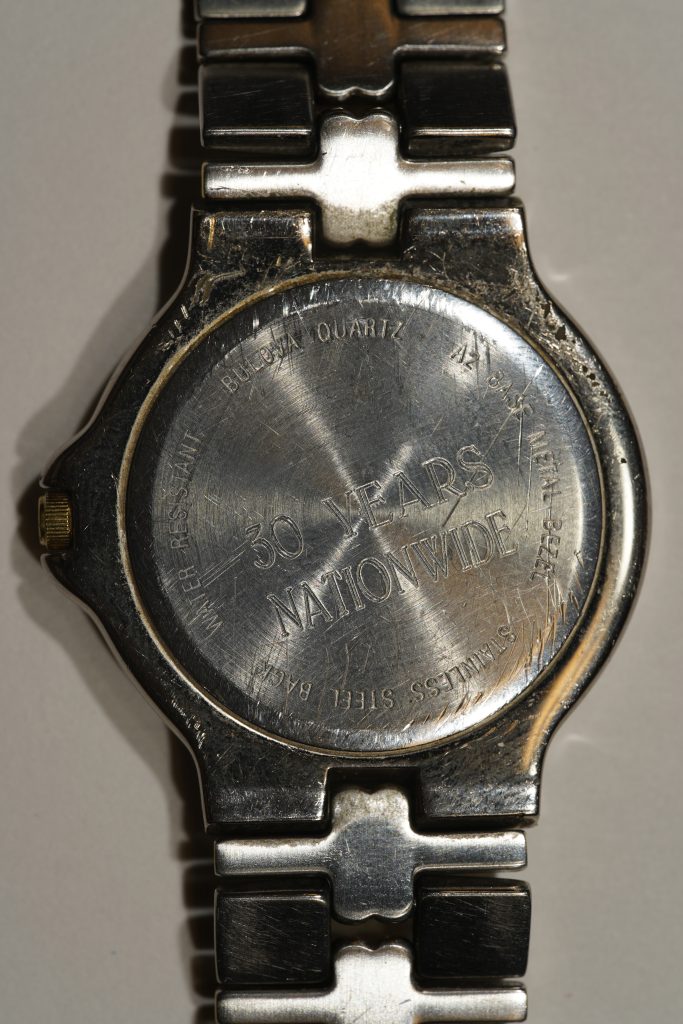
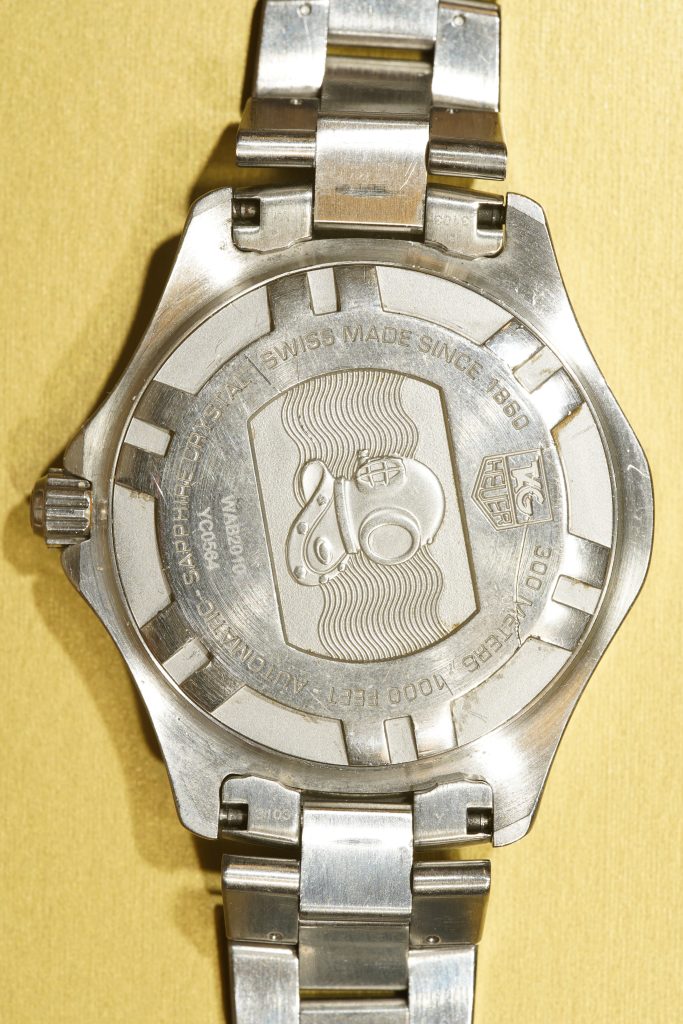
Year Made: 2010 based on number on the back
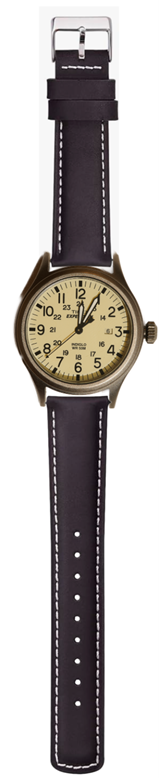
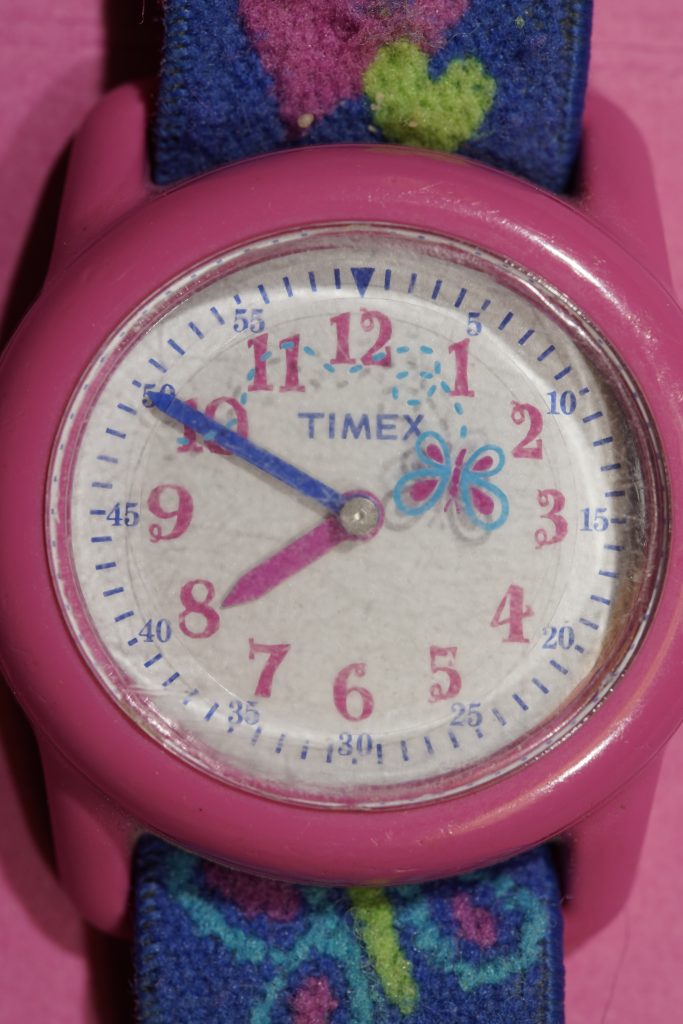
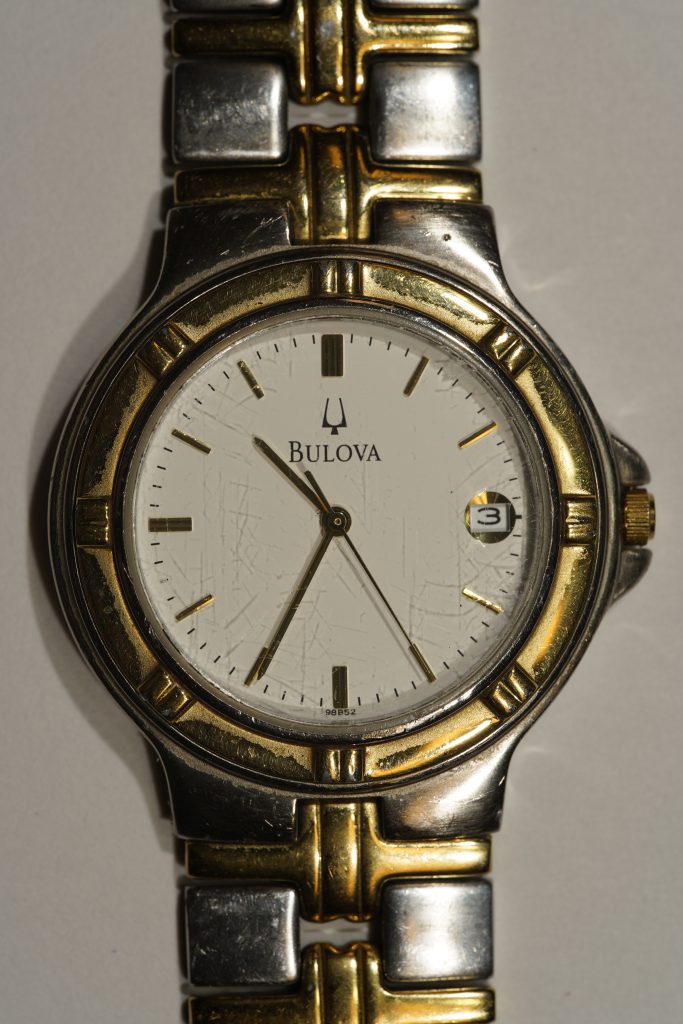
Watch Model: Tag Hauer Aquaracer Automatic
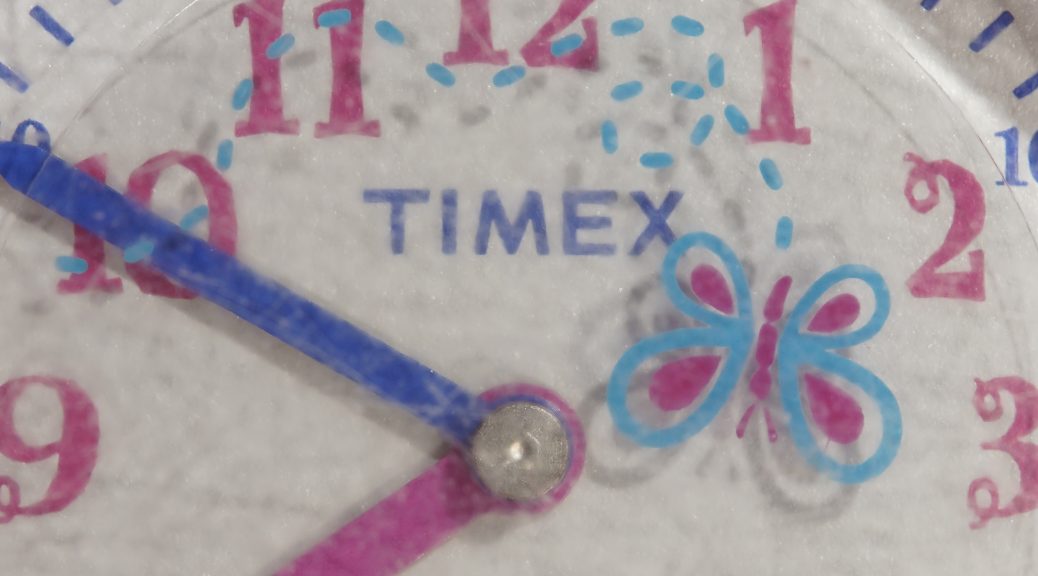
Number on Dial: None
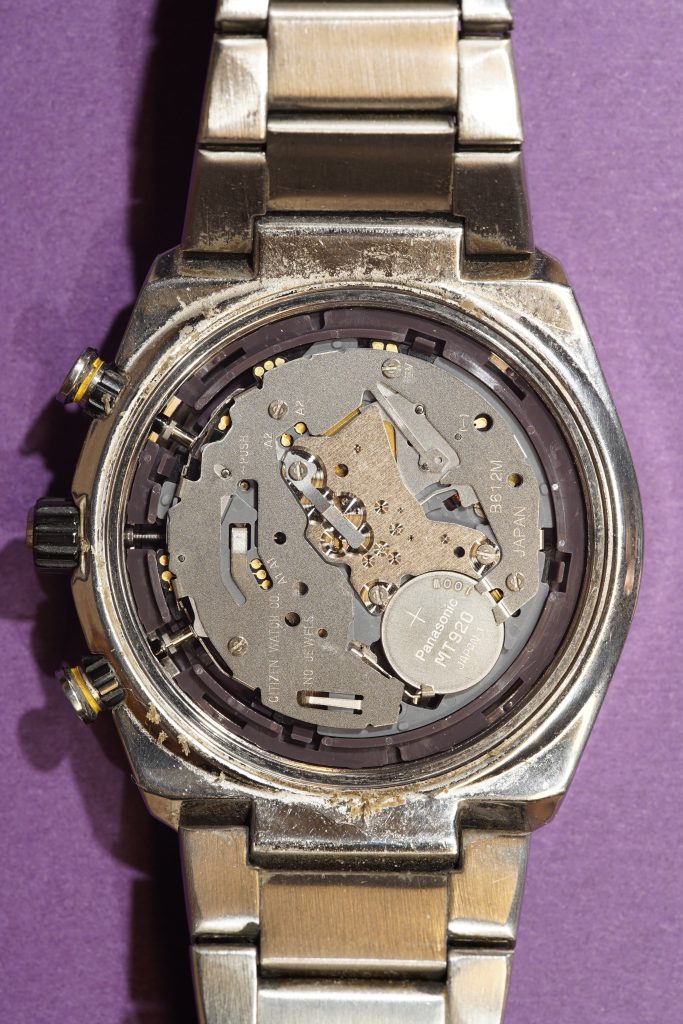
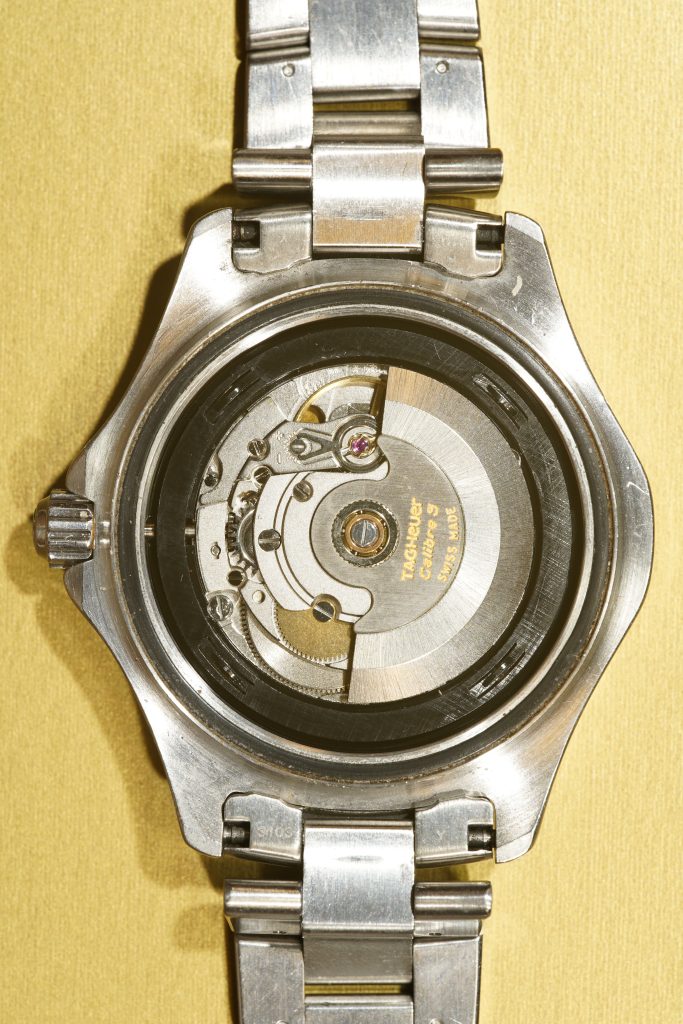
Number on Case Back: WAB2010, YC0564
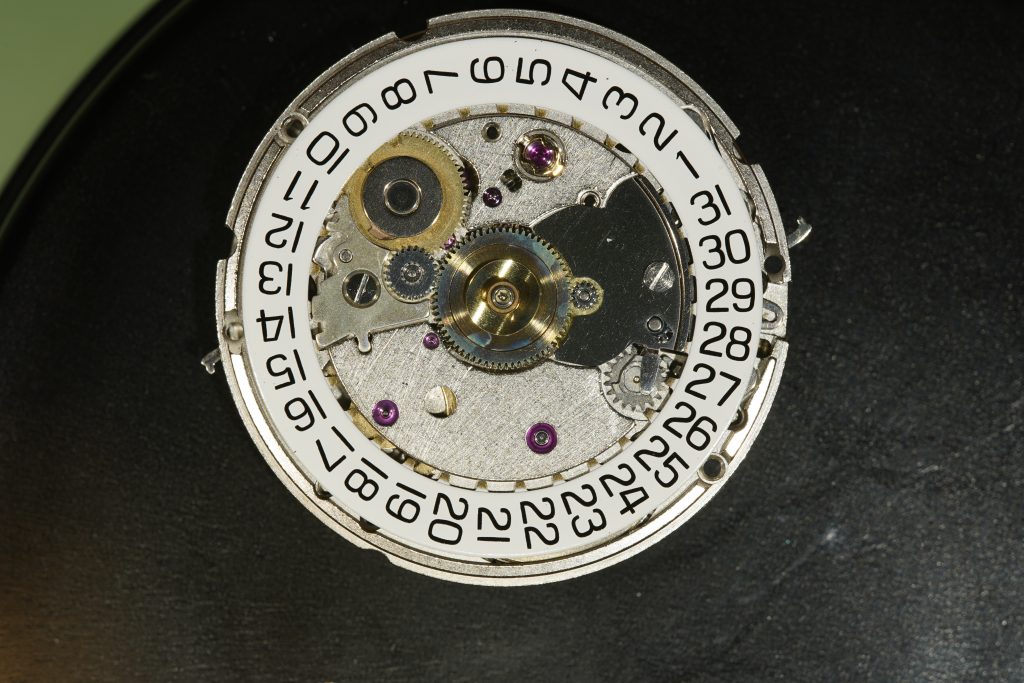
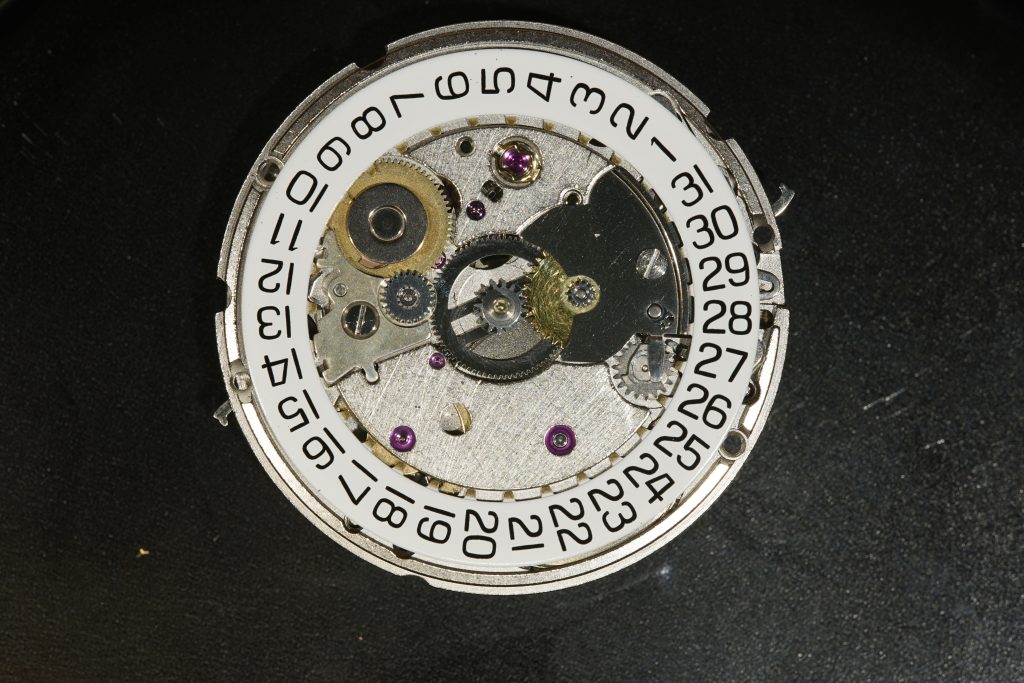
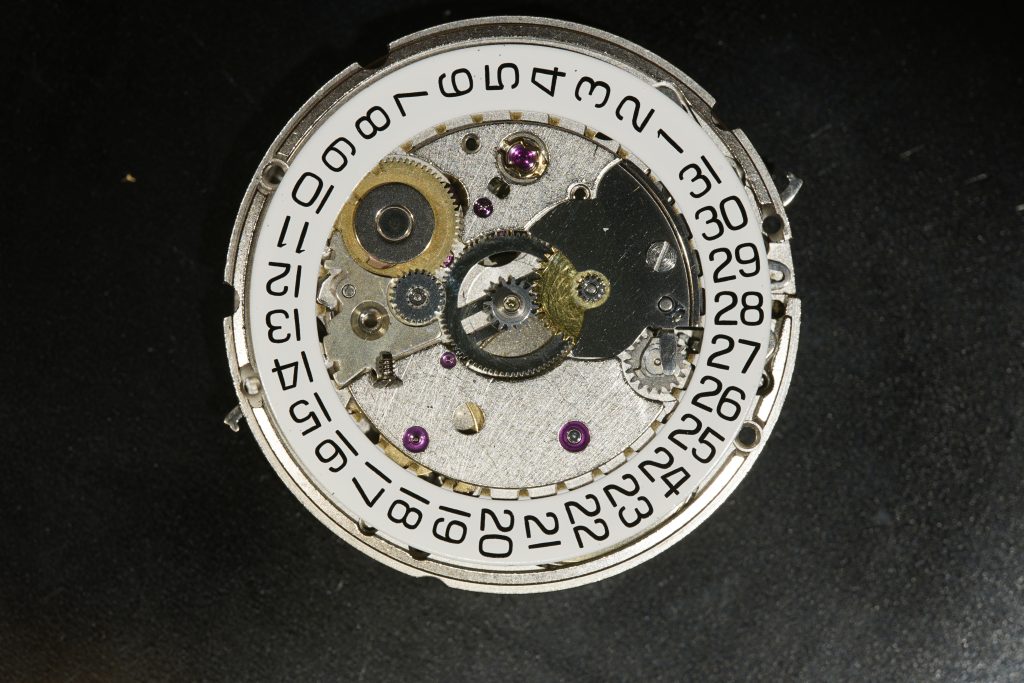
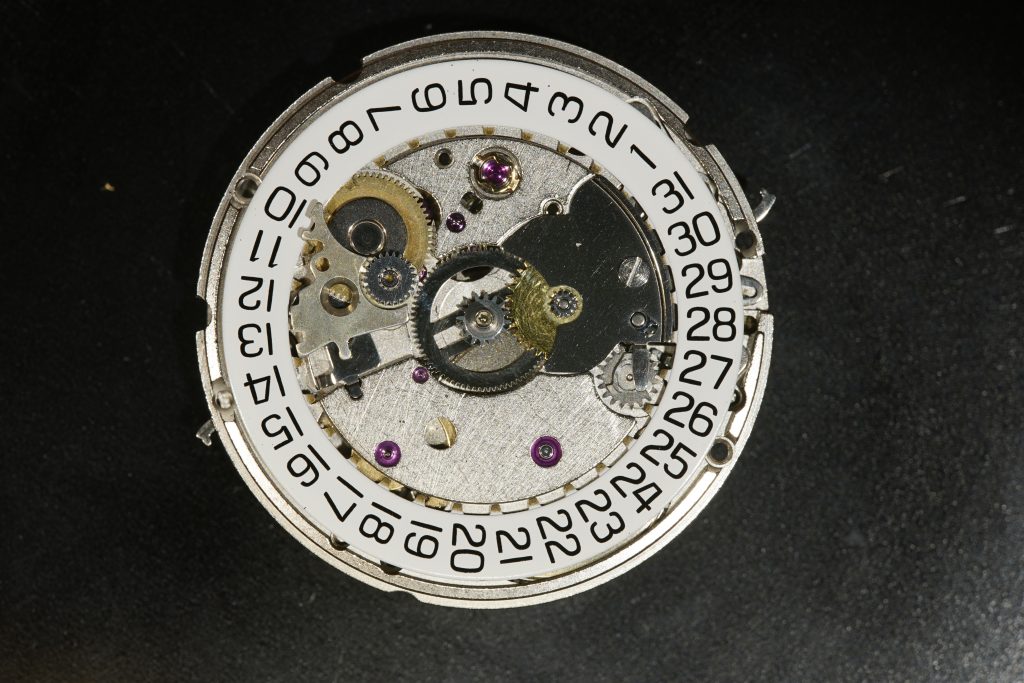
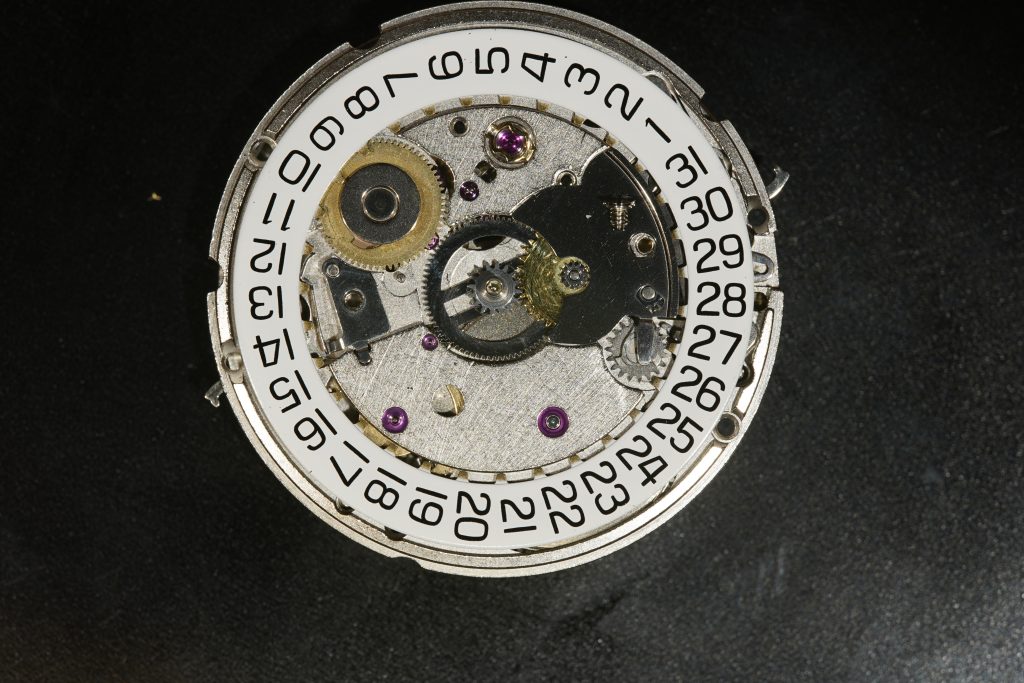
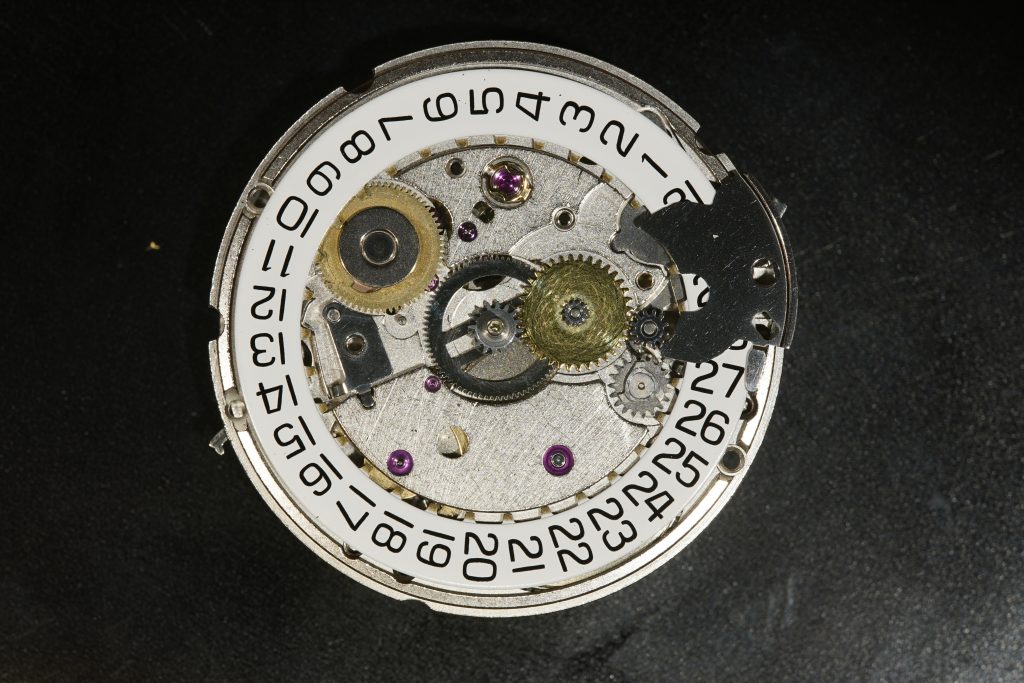
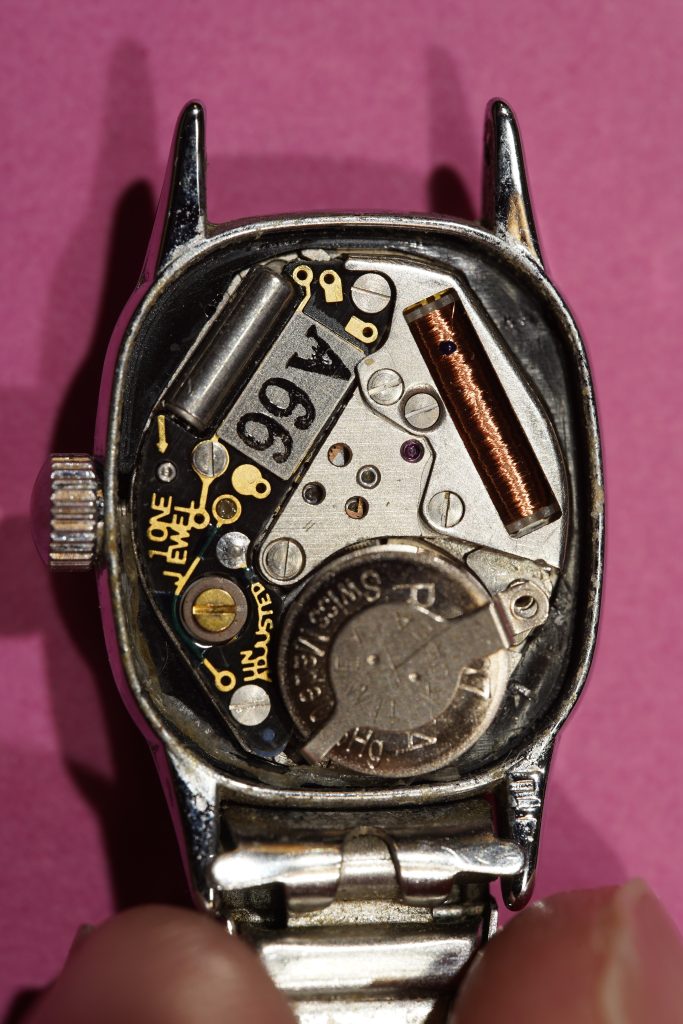
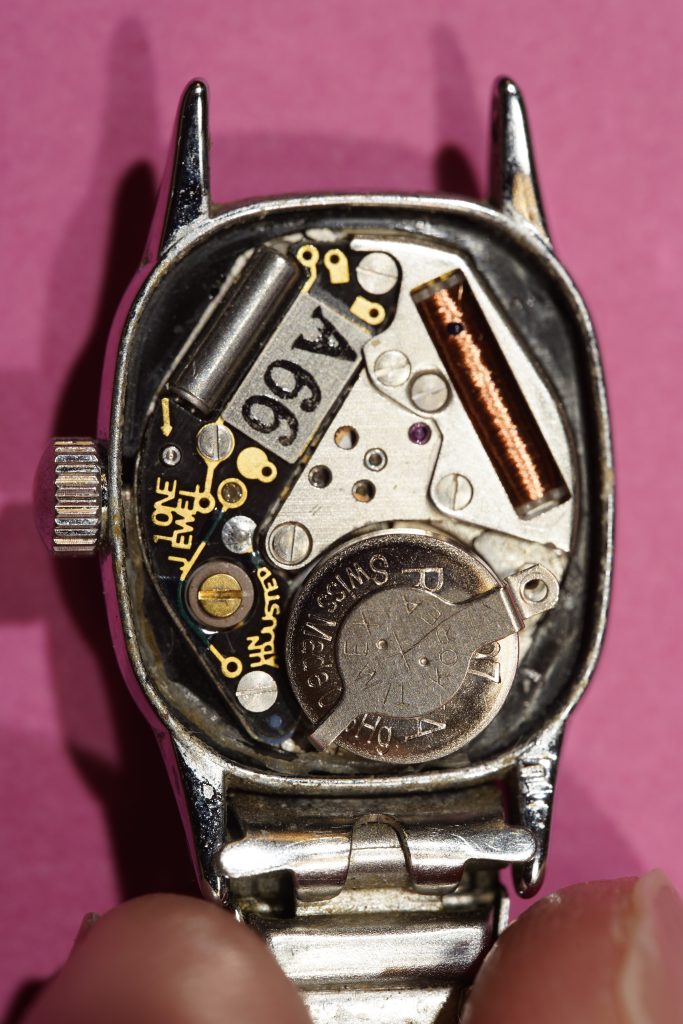
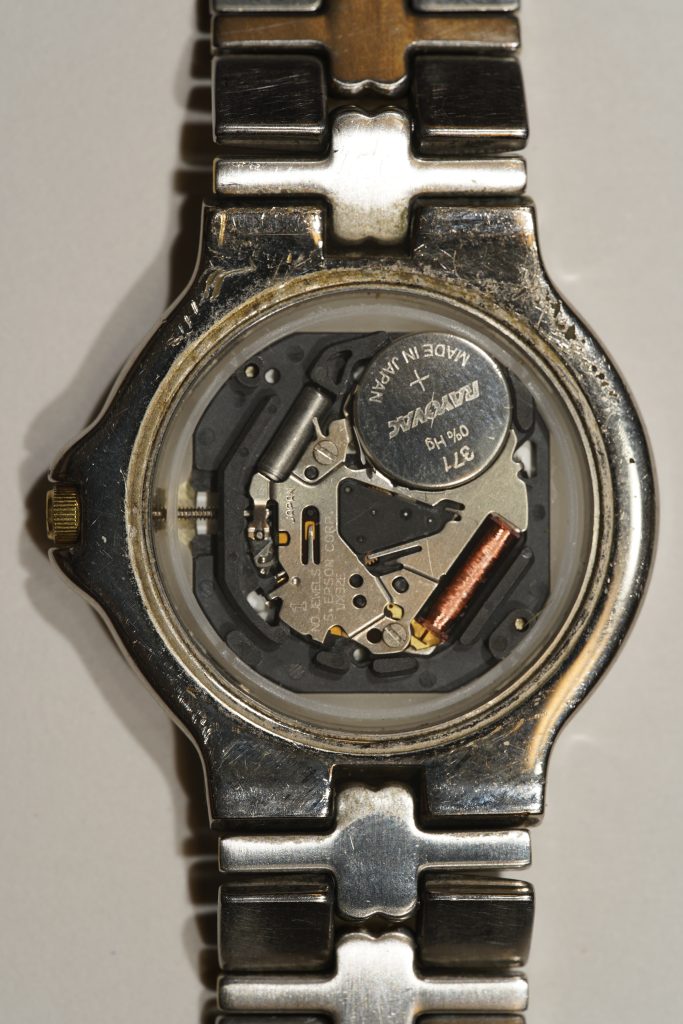
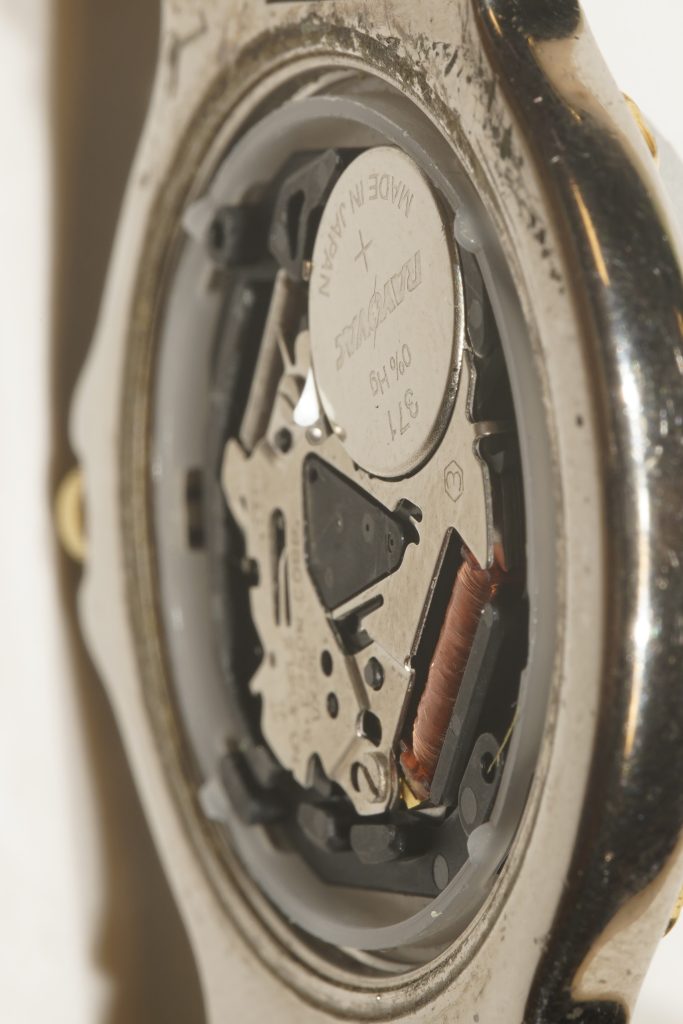
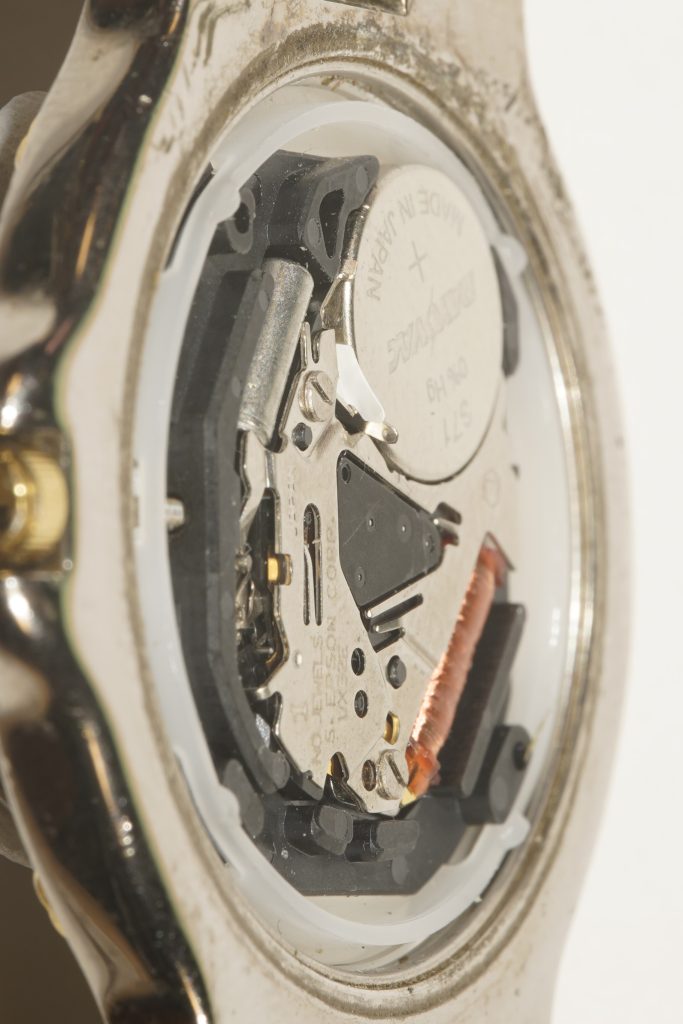
Number on Movement: Calibre 5
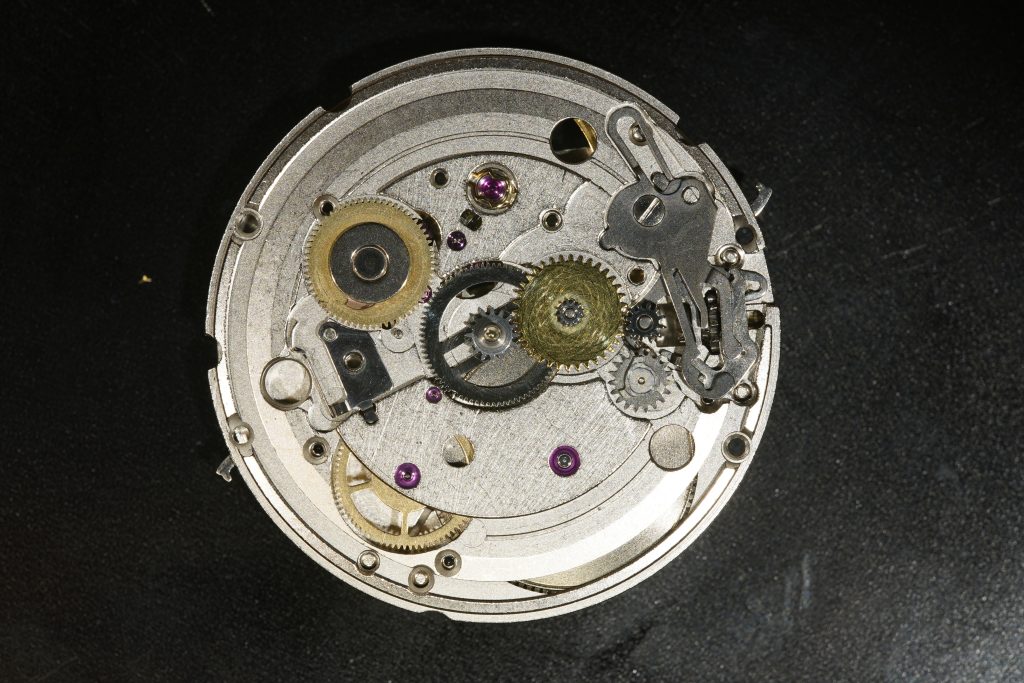
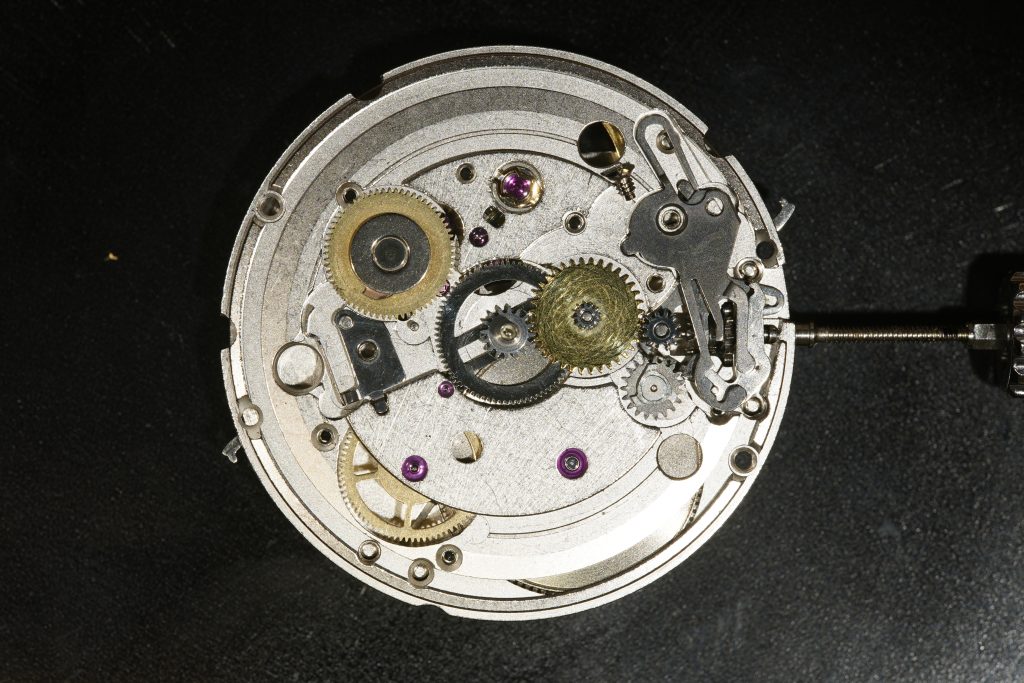
Movement Model: Eta 2824-2
Bracelet Number: 3103
Mass, movement + case: 412.6g
Mass, movement alone:
Crystal diameter:
Dimensions, movement: 26.3mm, 31.7mm with plastic
Band length:
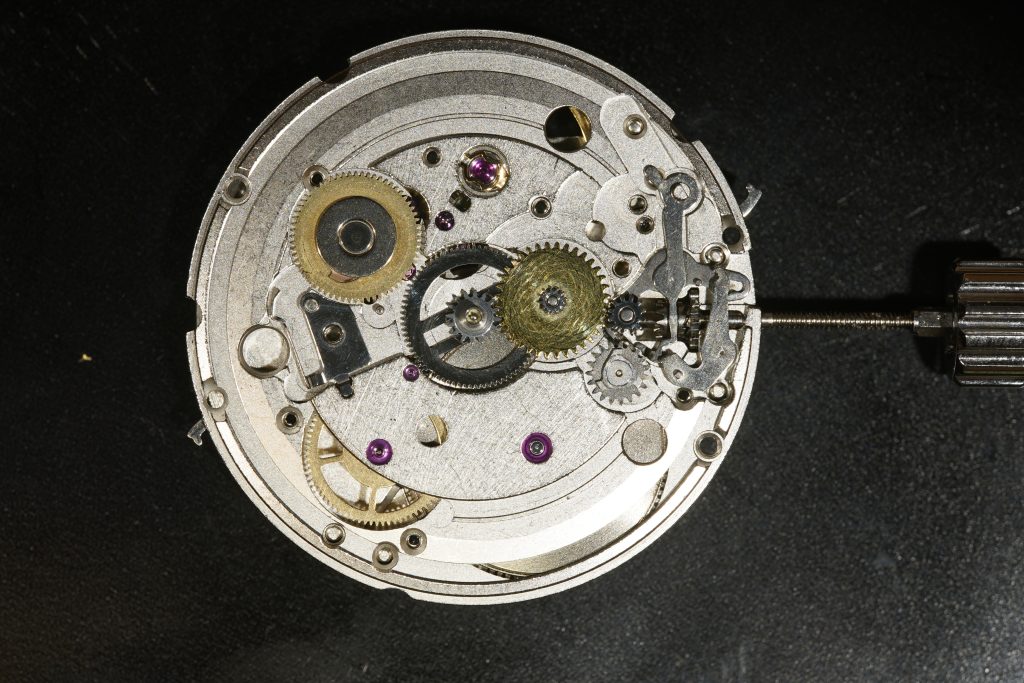
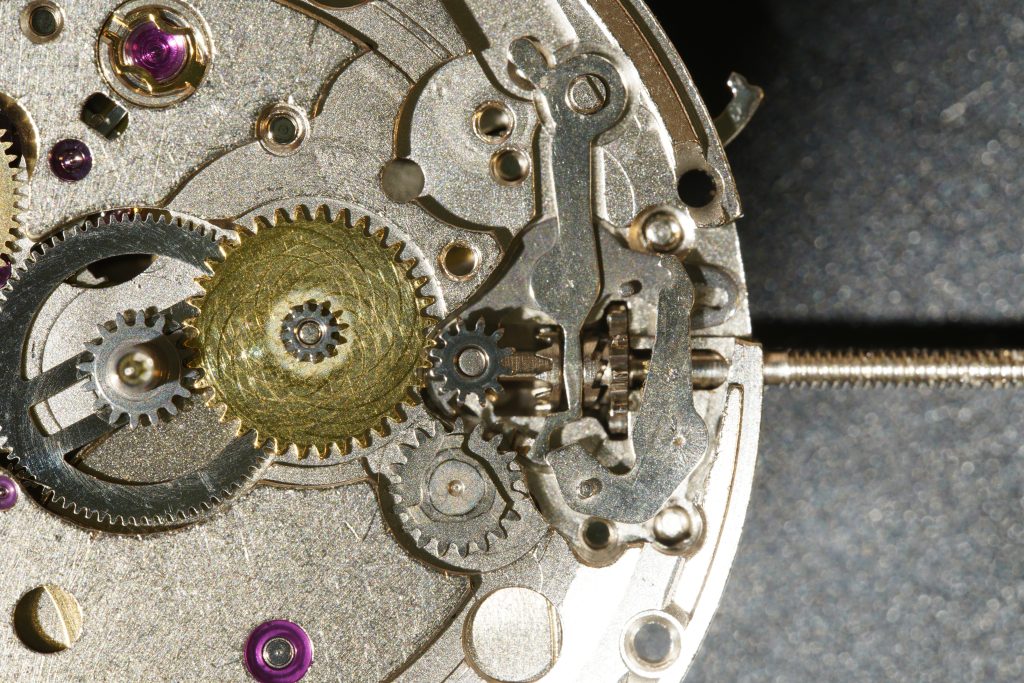
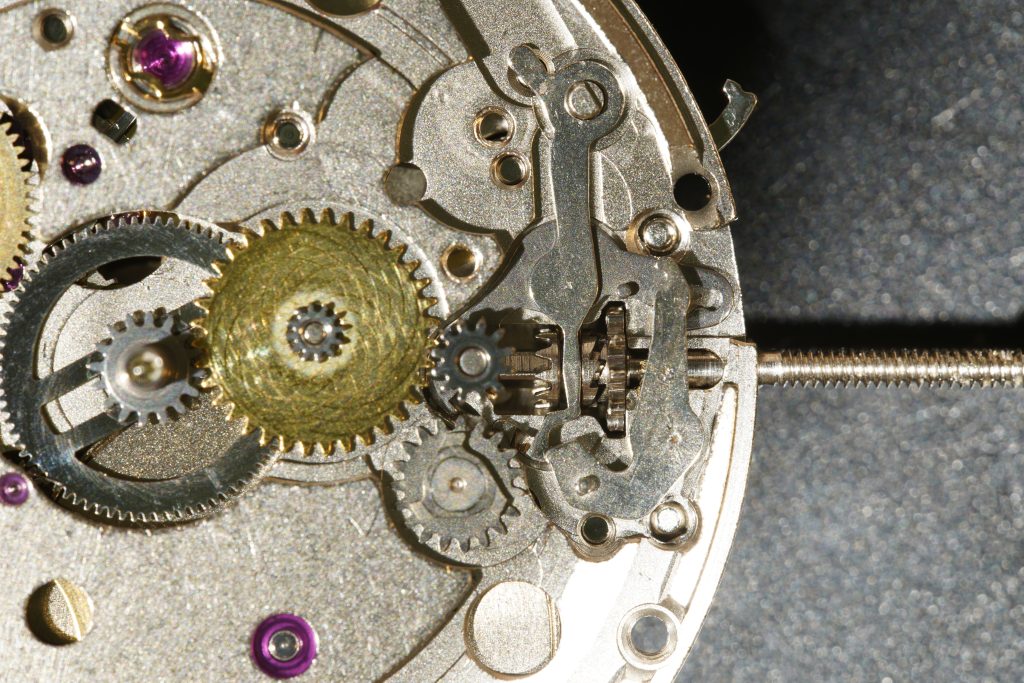
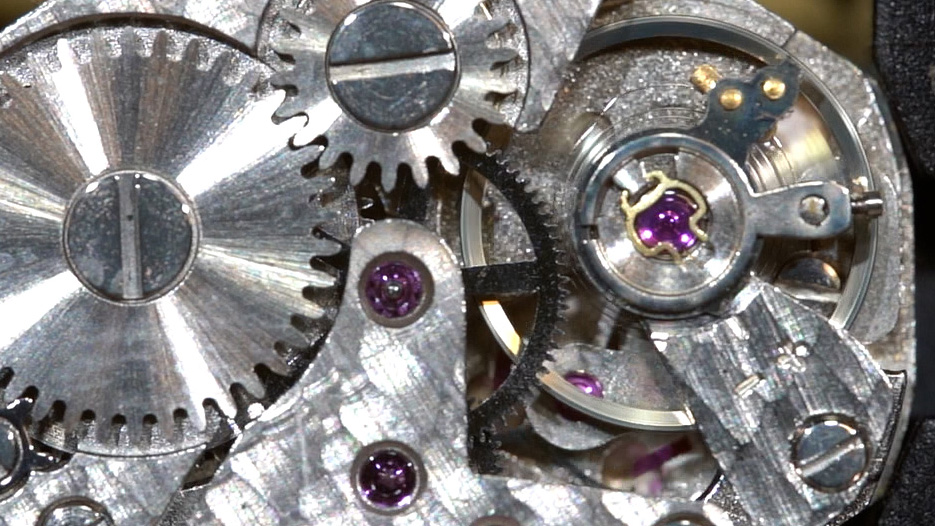
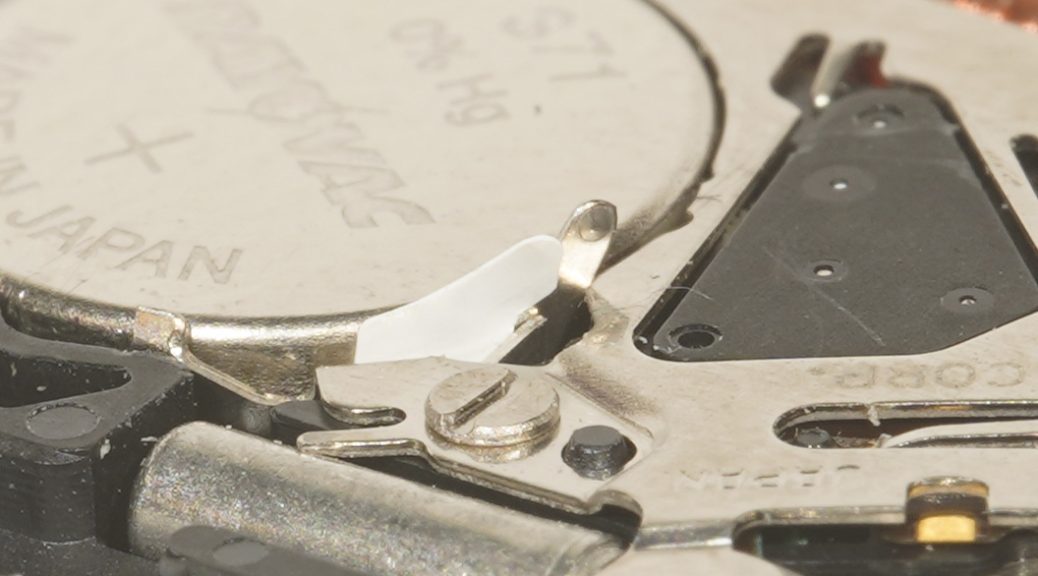
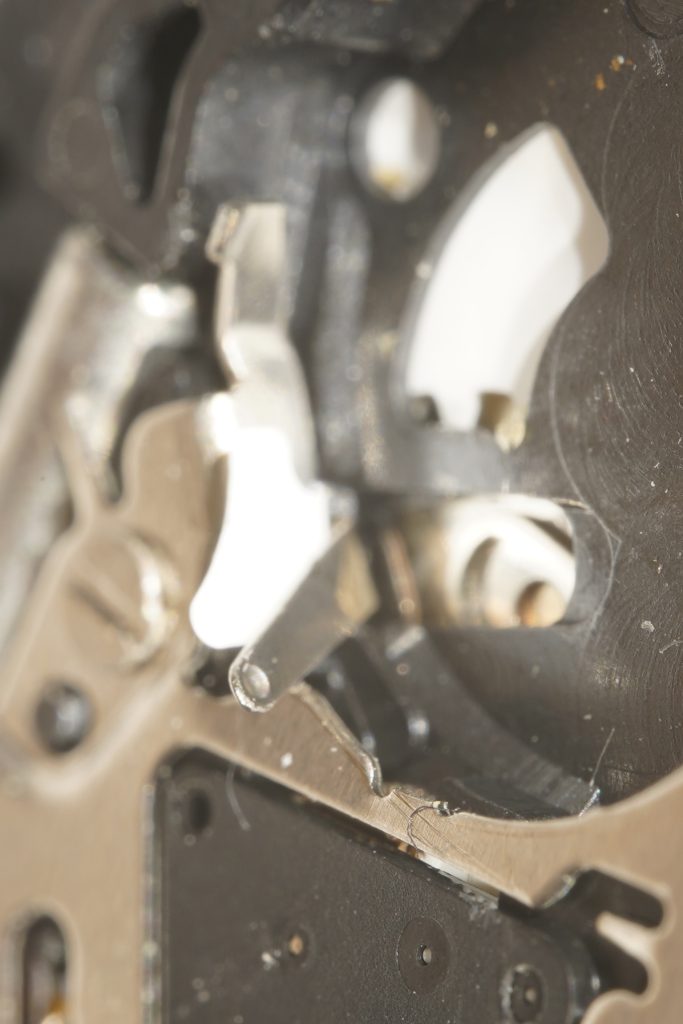
Eta 2824-2 (or Sellita SW200) putting clutch back on after removing stem in wrong position: